I’ve been a baking slacker lately. This only poses a real problem for my kids’ expectation for a “treat” in their lunches. Mind you my lunchbox treats tend to be less sweet than anybody else’s, but it seems that it’s more important that there be something treat-like in there than that the treat in question be of any particular kind. So up to now, I’ve been pretty good about doing just enough baking to keep them supplied with a steady stream of reasonably healthy “treats.”
A few weeks ago I started slipping ’em low sugar graham crackers – really pretty harmless and something they enjoy. No problem. After a while of that they requested something else – anything else (and who can blame them). I found myself wandering through the prepared treats aisle reading packages of corn syrup laden white flour options as though I had never once baked in my own kitchen. I practically forgot that I used to spend a few minutes just about every weekend assembling a treat that would satisfy both the kids and me. I would bake for our customary Sunday dessert and then serve the rest throughout the week in small lunch sized portions. When I brought home cookies previously deemed pretty wholesome without even reading the label, ate one and felt a film in my mouth and had to stop because it was too sweet to enjoy, I knew I’d hit the proverbial bottom. Which is great, because it led me to spending a little time today making my new favorite dessert, Almond Joy Brownies.
2/3 c unsweetened cocoa powder or raw cacao if you’re feeling spendy
1 c gluten free rolled oats blitzed in food processor until flour like
1/4 t baking powder
1/4 t salt
1 c coconut sugar
2/3 c sweet potato puree (baked sweet potato in food processor with enough water to create baby foodish consistency – add water SLOWLY so as not to overshoot)
1 T ground flax meal + 3 T water (AKA flax egg)
1 1/2 t vanilla
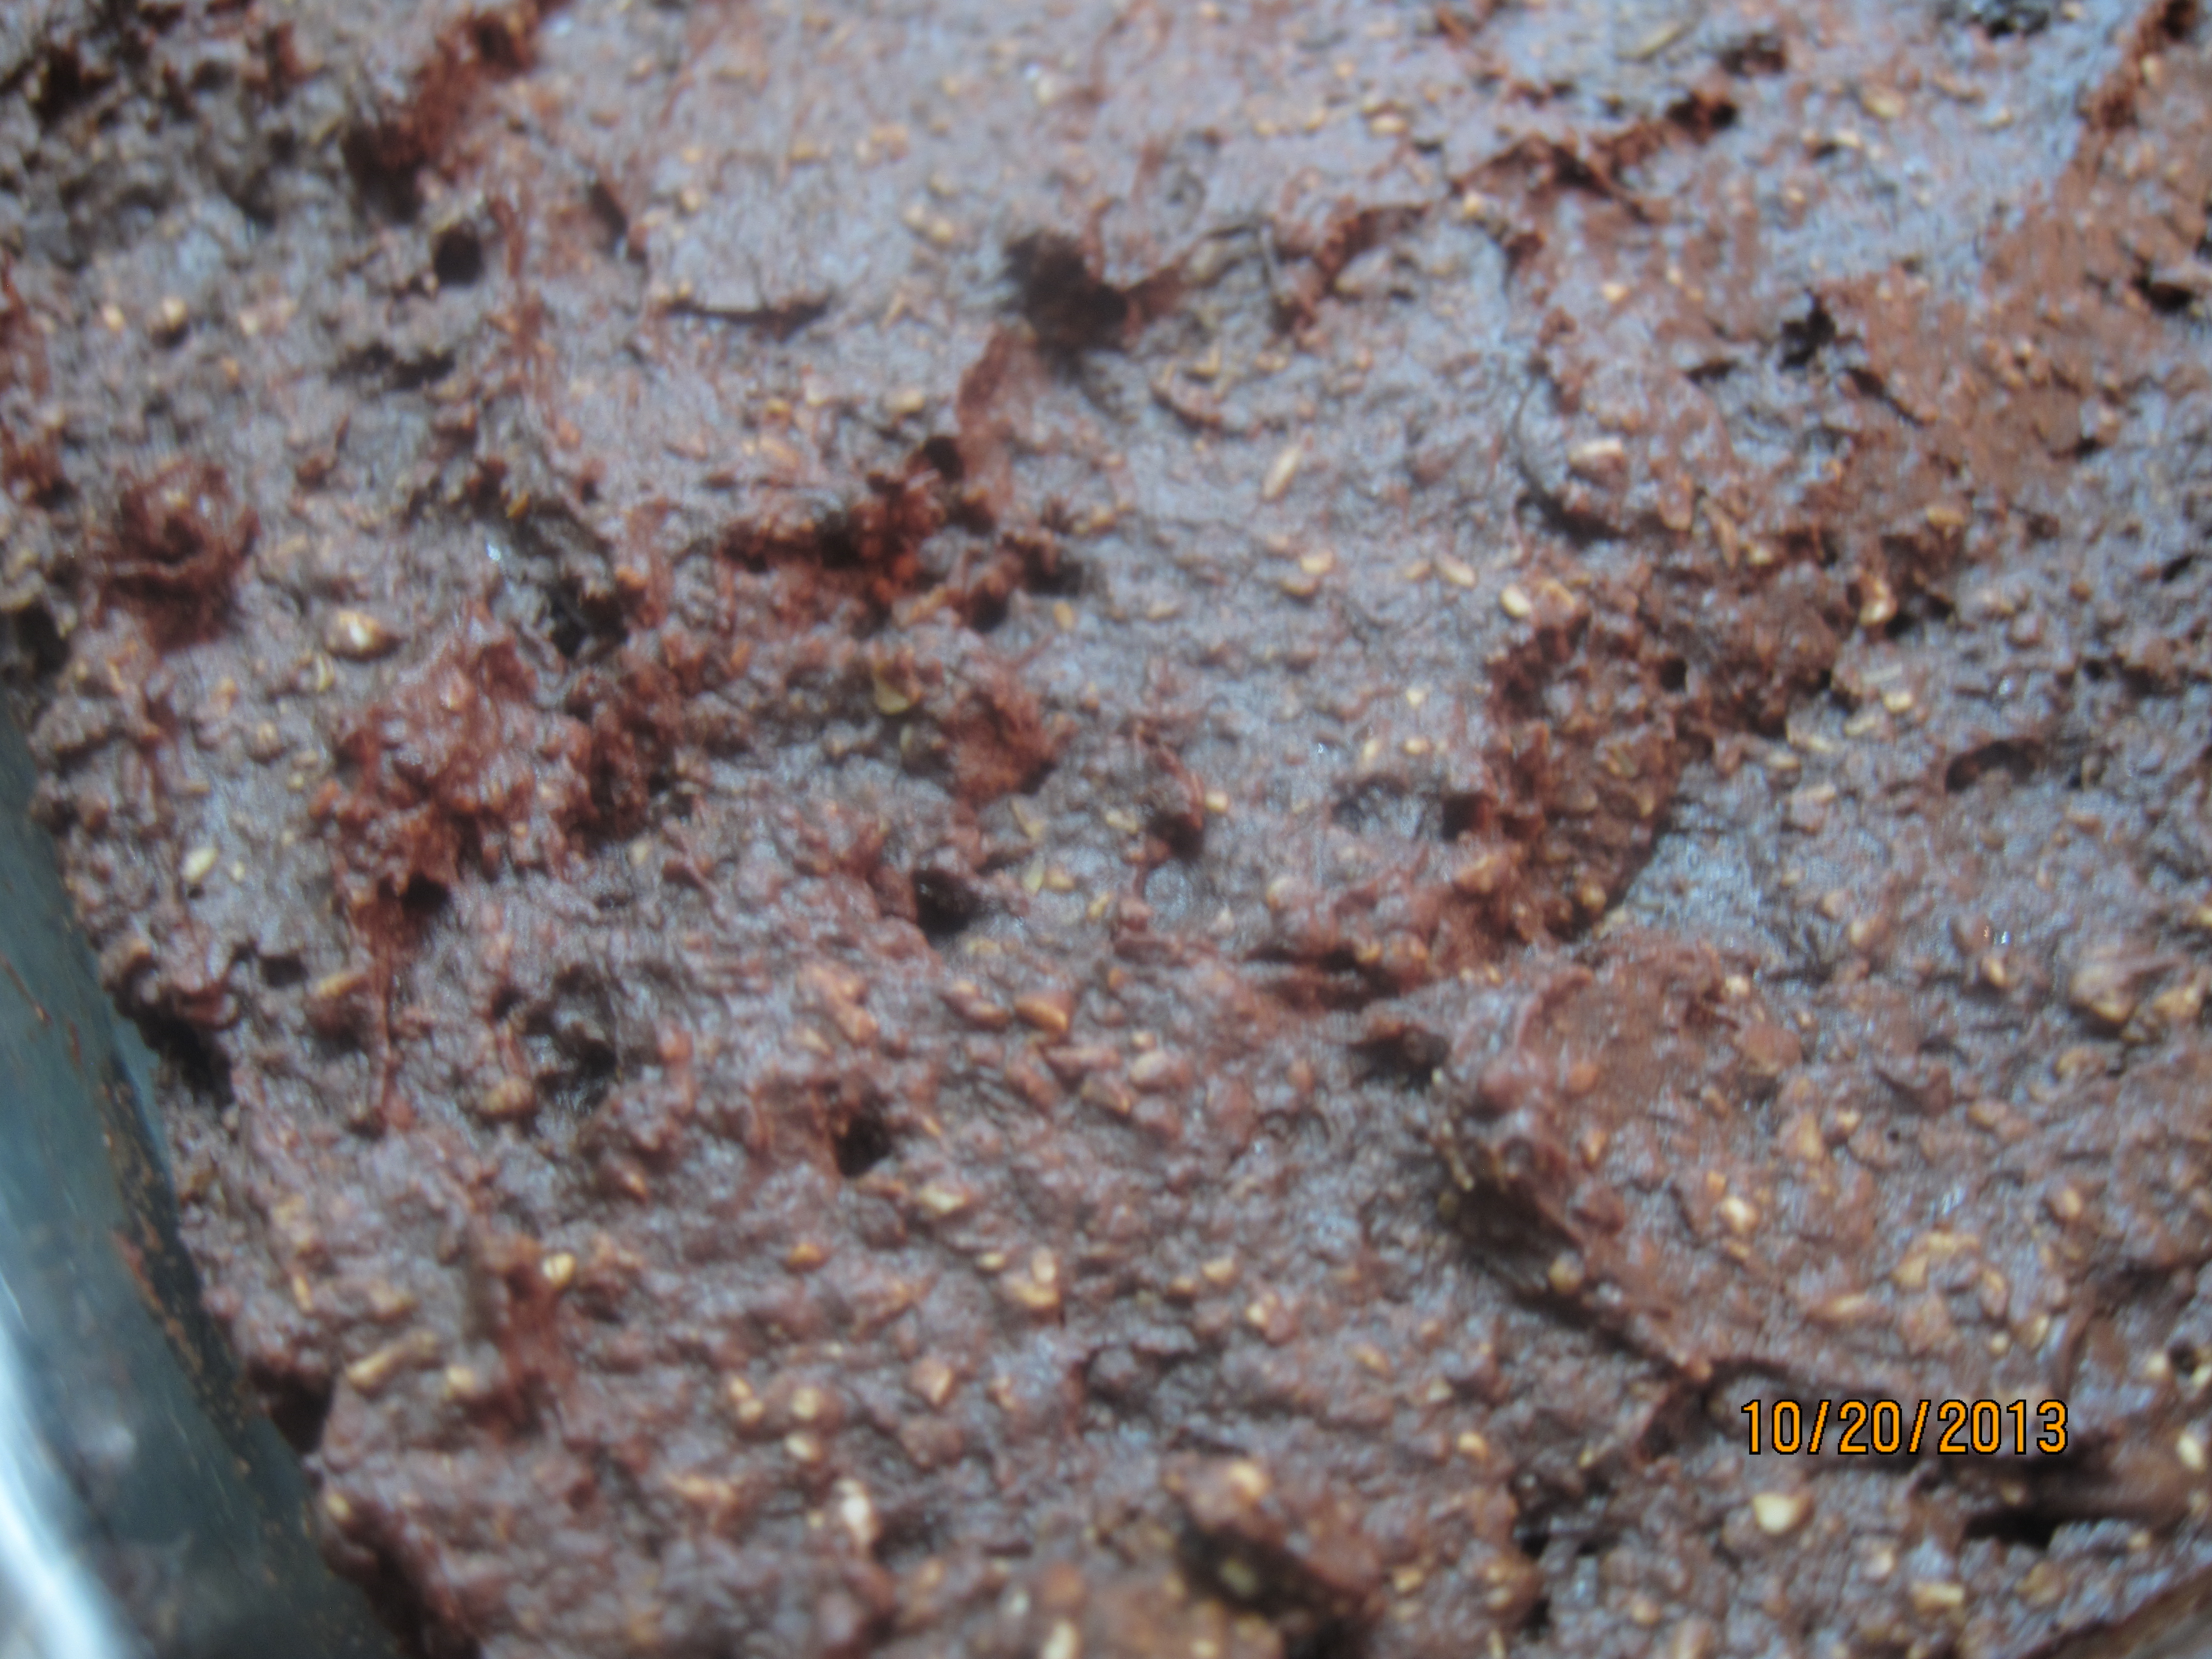
Preheat Oven to 350. Melt coconut oil and add cocoa, stirring to create smooth, silky chocolate that you should not eat. Combine oat flour, baking powder and salt in small bowl. Combine coconut sugar, sweet potato puree, flax egg and vanilla in medium or larger bowl and whisk until smooth. Add chocolate. Stir to combine. Add dry ingredients (if you’re still holding a whisk, now is the time to switch to a spoon, unless you’re trying to create an “Oh no, I have so much brownie batter stuck in my whisk, however will I get it off…. slurp” kind of scenario. Not that I’ve ever done that. Add a handful or so of your favorite chocolate chips.
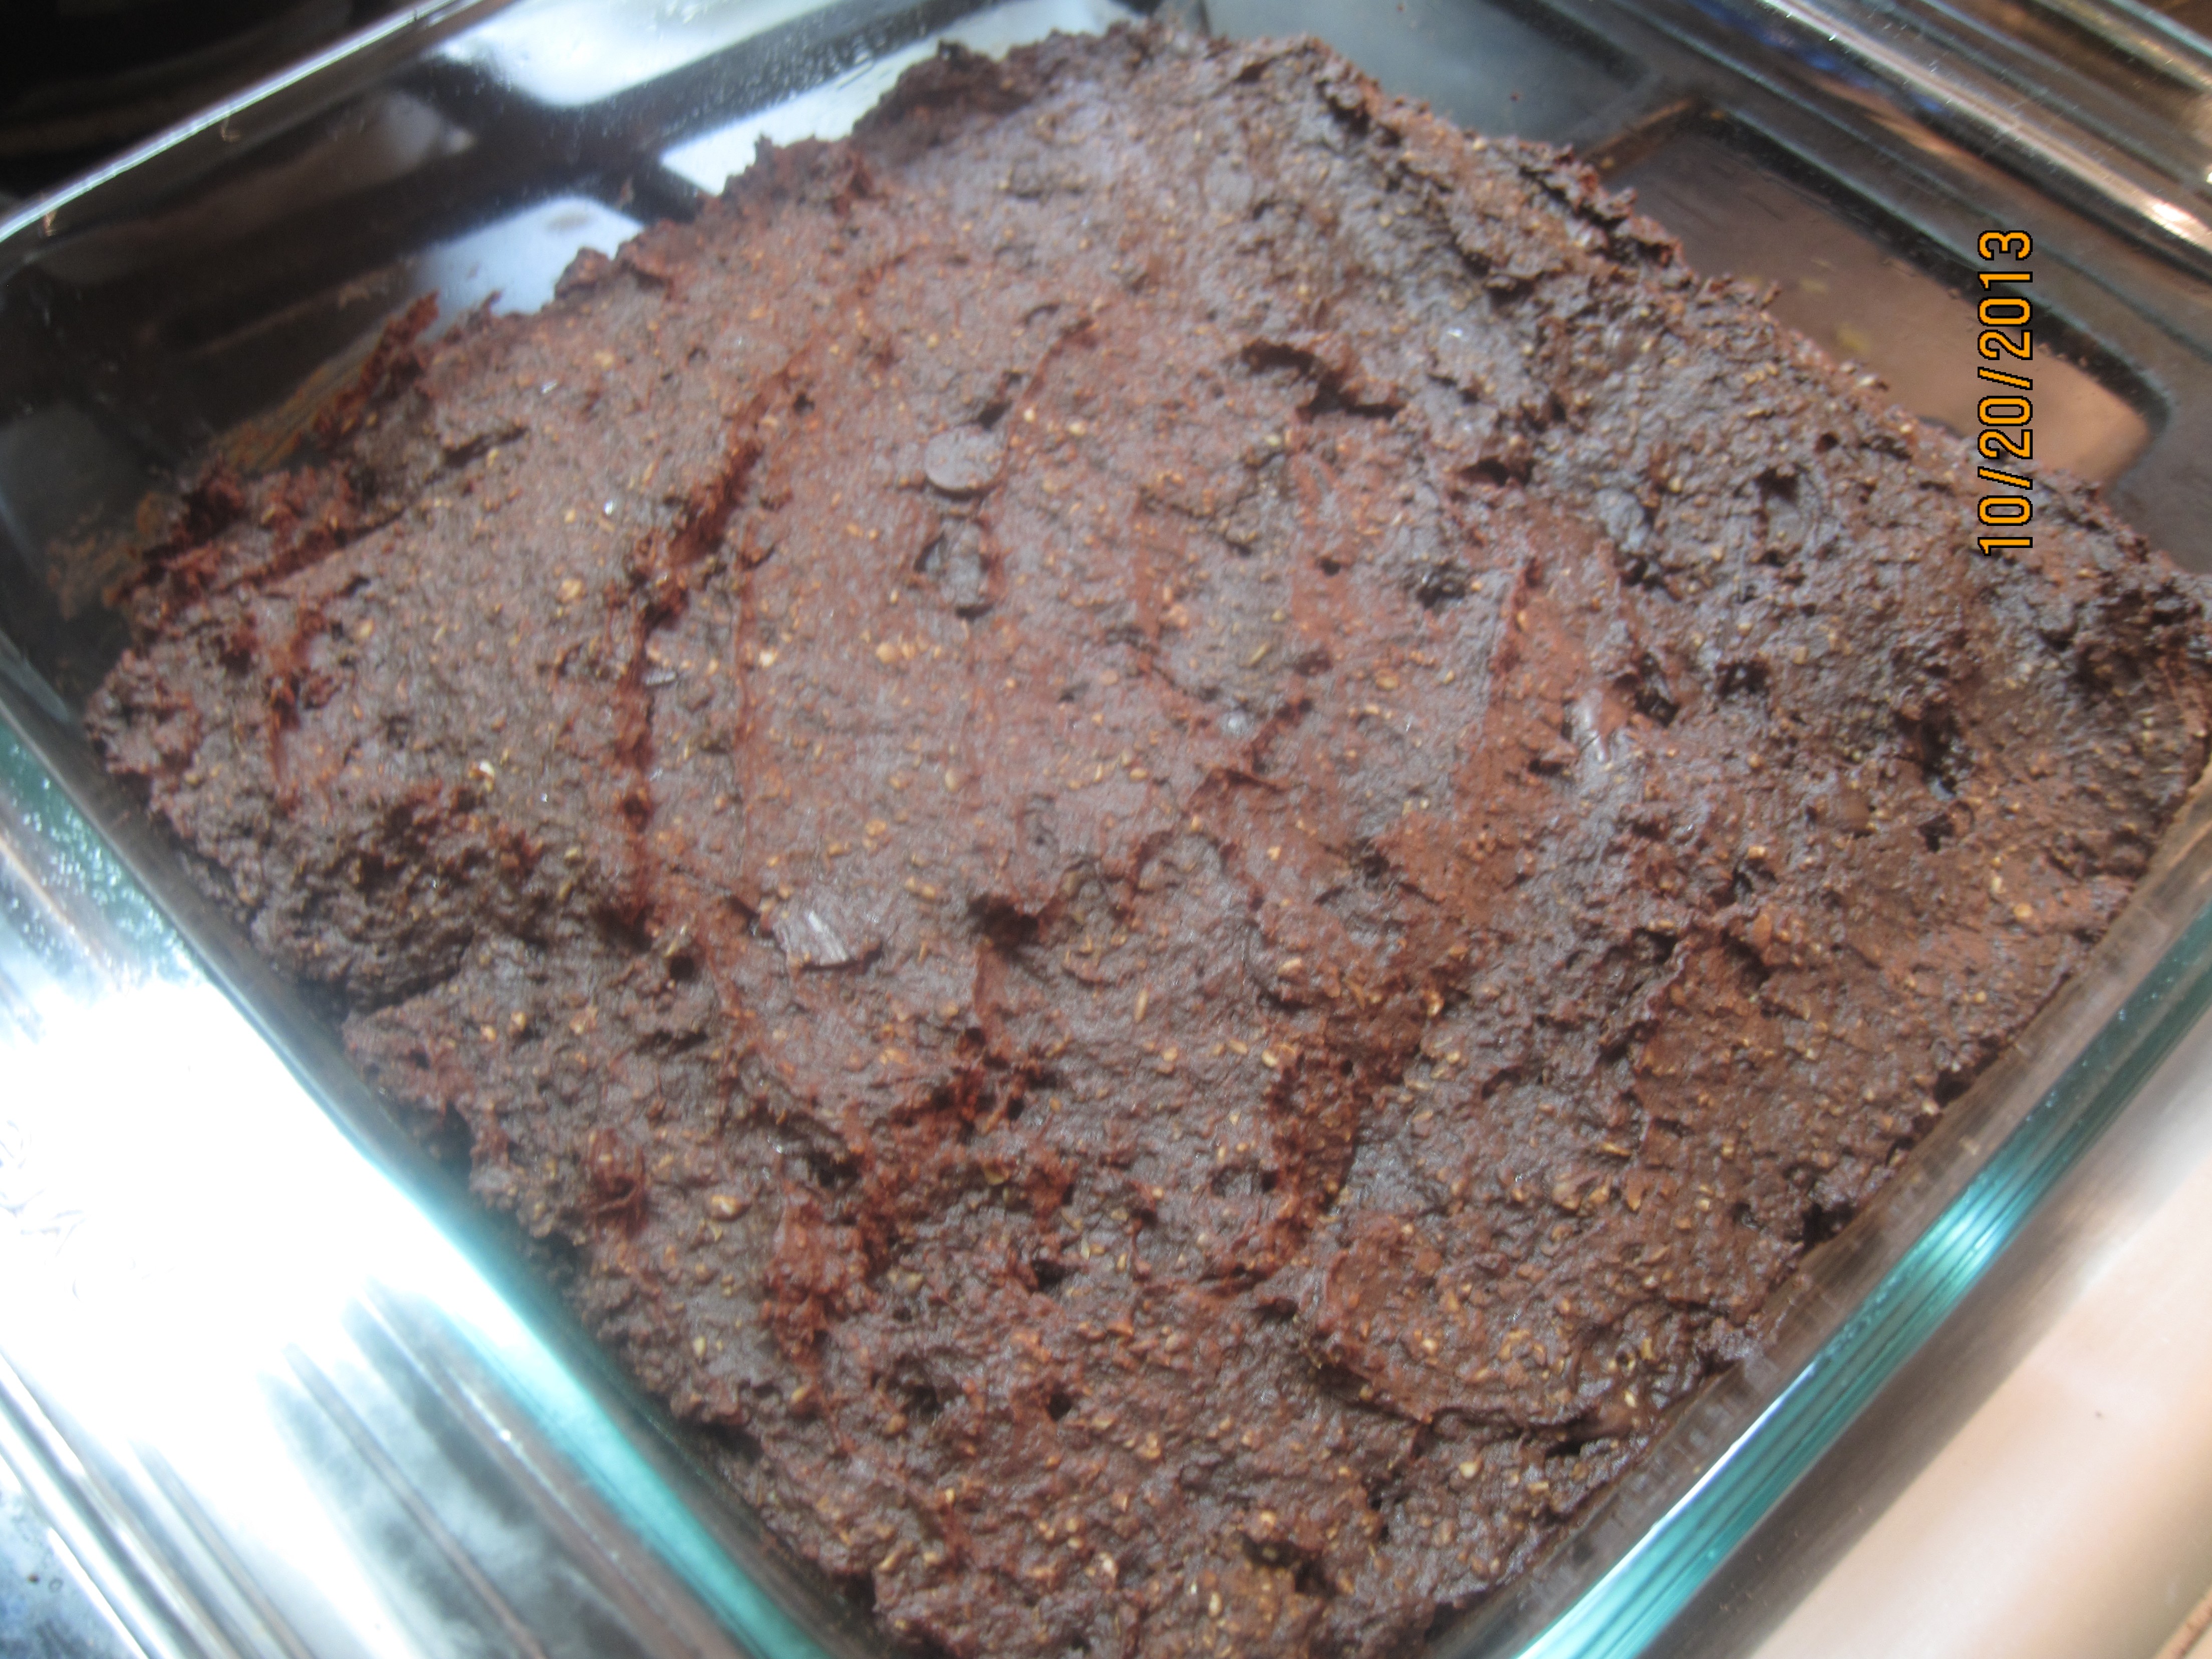
Scoop into oiled square baking dish. Bake for 35-40 minutes. Look for typical brownie crackling on top and a slightly firm feel in the middle of the pan (that second test is only for those of us in the asbestos fingers crowd). You can try the toothpick test, but these are fudgy, and will not likely come out totally clean. So just look for not wet, mostly clean. Remove and allow to cool in the pan.
The Topping
2 cups shredded unsweetened coconut
16 whole raw almonds
Place coconut in food processor. Turn on and let it run, run, run. You’re going to let it go so long that the coconut is going to turn into a liquid. You’ll want to stop it occasionally and scrape the sides of the bowl so all of the coconut gets transformed into superific coconut butter. When the contents of the bowl are shiny, let it run a couple more minutes and then place in a container you can put a lid on so you can save the leftover and put it on your toast, in your oatmeal…. yes, the options are mind-boggling..
The You Got Your Coconut On My Brownies Moment
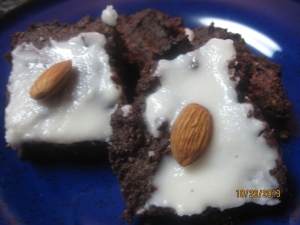
So when the brownies have cooled a little (you don’t have to let them cool completely), spread the coconut butter on top in whatever amount makes sense to you. I tried to show a little restraint because I wanted to chocolate flavor to prevail. If your coconut butter has hardened, gently warm it a little to soften. Place almonds on top – I did a one whole almond per brownie ratio, to get that crunch that I used to love in the Almond Joy, but I think chopped almonds would make for a nice effect as well.
I don’t think I even need to tell you that these were great – what’s not to love? Super dark chocolate flavor, coconut creaminess and that wholesome crunchy almond. Delish. And now I’m ready for those lunch boxes for real.
I struggle with the treat area. There, I said it. My kids have been the fortunate recipients of mostly unprocessed or only lightly processed snack foods, but I have, in my forty some-odd years on the planet, consumed a fair number of packaged snack foods. The difficulty that this poses for me as a parent is that I am vulnerable to the argument that perhaps I am being TOO restrictive, that I am depriving my kids (OH NOOOOOO, ANYTHING BUT DEPRIVING YOUR KIDS!!!!) of some sort of necessary and later to be romanticized pleasure of childhood. So I struggle to find balance. They don’t get A LOT of the things that their classmates and friends get, but I attempt to frame it, as I do with myself, as a turn toward the abundance and delicious satisfaction that real food, even as snack or treat, can provide.
Healthful twin lunches. Healthy twin kids.
My recent efforts, as a reflection of my desire to keep my kids on the attitude of gratitude end of the spectrum as regards their lunchtime totage, have focused on the treat portion of our little stainless steel container. As it turns out, packing lunch has been something of a guilty pleasure for me. The picky child in our family takes her Tinkerbell lunchbox everyday with the utmost trust that I have included SOMETHING that she will eat. And I generally do. And the funny thing is, she eats it. She eats most parts of whatever I pack. She eats things she won’t eat at home, and when she gets home, she finishes whatever’s left…. hot diggity. So I have no guilt about providing a small not so sweet in their tins. I have made two lovely discoveries this week that I thought I would share… one that is gluten (but not chocolate) free, and one that has gluten, but is vegan, and I must say, quite awesome. I’m eating some right now as I type. On to the goodness…
What do you mean what happened to the first row? What first row?
First up: Gluten Free Blondies – adapted from Chocolate Covered Katie’sChocolate Chip Blondies. These babies are BEAN based; that’s right, you heard me, bean based. So I’m thinking I need to whip up a lunchbox yummy and looking at my fridge to see what I should use up and rolling my eyes at the container of white beans from the previous night’s dinner… turns out they were just what I needed. I love it when that happens.
See those little beanies in there?
The changes I made to Katie’s recipe here are pretty minimal. I cut the sugar to 1/2 c from 3/4 c. For the grain I used a mixture of flax and rolled oats. I added 1T of applesauce because my batter seemed too dry (I used homecooked rather than canned beans). I went a little light on the chips to no ill effect and I added 1/4 c of pecans. The procedure is super easy. Preheat oven to 350. Mix ingredients with the exception of chips and nuts (if you use them, which you should) in a food processor until the batter is smooth. Add chips and nuts and stir to incorporate. Place in 8×8 greased or lined baking pan. Bake for around 30 minutes. They will be softer than your average blondie – sort of fudge-y and awesome. If you’re smart enough to eat one warm, you’ll get the reward of the melty chip drip that is part of the blondie experience. Delish.
Turns out beans weren’t the only thing I needed to use up. With the onset of the school year (and cooler temps), our green smoothie intake has diminished and my banana purchases got ahead of me. Super over-ripe bananas can only mean one thing in my house… banana bread. Oh yes. This recipe is adapted from one I got from a dear friend who first made it for us during a delicious fall weekend on a farm in the Catskills. She had adapted the recipe from one she’d had given to her by someone else… Honestly neither one of us has any idea at this point where it originally came from. On the off chance that it was yours and you still recognize it, let me know and I’ll credit you.
I was encouraged to limit my pecans so we could try it “both ways.”
Preheat oven to 350°. Combine flours, oats, baking soda, cinnamon, and salt. Place sugar, applesauce, oil, and molasses in a large bowl; beat with a mixer at medium speed until well blended (about 1 minute). Add eggs, banana, nut butter, and vanilla; beat until blended. Add flour mixture; beat at low speed just until moist. Spoon batter into a greased 8 1/2 x 4 1/2-inch loaf pan. Decorate with pecans. Bake at 350° for 1 hour and 5 minutes or until a wooden pick inserted in center comes out clean. Cool 10 minutes in pan on a wire rack; remove from pan. Eat some while it is warm and the outer crust is at its peak. Cool completely on wire rack before storing. Amazing.
As many of you know, my twins started kindergarten this fall….. gack. There’s an awful lot swirling around in my head about THAT very fact and rather than sit here and take it in, there’s a whole new world of work and school logistics to get to know. We’re all feeling, while still reasonably enthusiastic, a little tired and beat up around here. The kids are especially tired in part because their school day is so much longer than anything they’ve done before, and in part because the paltry amount of time they are given to consume lunch is not working out too well for ravenous boy and chatty girl. Lunchboxes are coming home with a dent at best. They do, of course, always manage to extract the small sweet that I’ve been including to cheer them up at the time that they say they miss me the most (awww, yes, it breaks my heart a little). Because of these developments, after having a talk about the fact that veggies need to be eaten before sweets just like at home, I’ve doubled down on my efforts to find and make sweet bits that are much less…. well everything. The delightful thing about severely restricting sweets is that your kids get a lot less picky about them and so this is one category of food where everyone, even my daughter, is consistently rapturous about my efforts, and let’s face it, that’s pretty good for the chef. 🙂
This week’s little sweetie scored 100% approval and was just about as easy a cookie as I’ve ever baked. Why is it better than other cookies? Less sugar, less fat, and I used buckwheat rather than regular flour (read about the benefits of buckwheat here) and so have a whole slew of health benefits over your average chocolate chipper. Yes, that’s right, once again I will breach into the realm of the sacred and dismember a classic flavor expectation with a healthier chocolate chip cookie. Nearly blasphemous.
heaping .5 c semi-sweet chocolate chips ( I used minis to ensure choc in each bite and because, let’s face it, they’re cute)
1/2 c chopped pecans
Preheat oven to 350. Mix flour, baking soda and salt in large bowl. Mix wet ingredients in smaller bowl. Add wet to dry and stir. The dough will be wetter and easier to mix than traditional chocolate chip cookie dough. Don’t be alarmed. The dough will also be considerably darker than you might expect. Again, it will all be okay. Add chips and nuts (and whatever else your tribe prefers in such things) and stir gently to distribute. Plop onto parchment or greased baking sheets. I confess to using an official cookie dough scoop for such things (my Christmas baking requirements justified this little gem), but use whatever method you usually use with drop cookies. After filling the tray (I got 12-15 per tray), squash the tops a little as they will not spread the way higher fat cookies do. Bake for 6-9 minutes. Mine took 9, but my oven is wacky. Judge doneness by touching the cookie gently. When it feels like a cookie and not a squishy ball, they’re done. Allow to cool on the pan briefly for cleaner liftoff. Cool completely on wire rack, or I should say after you’ve eaten some while they’re warm because you simply must eat some while they’re warm, cool the rest on a wire rack. Delish.
I have a confession. I love cake and chocolate and ice cream and whipped cream and and and and…. While there are people who have more insatiable sweet cravings than I, I really can do a great job in the dessert eating department. And truth to tell, there have been moments of pure joy in my life that included something like a pain au chocolat with friends in Montreal or red velvet cake with my husband, the first taste of cream cheese icing with my stepmom. I would not trade those moments; I do not wish to stop having them. They are SPECIAL times, and that’s part of the point, isn’t it? They are special times, with foods we don’t have all the time. At least, this is the sad reality I have come to understand… this is an understanding my husband and I reluctantly came to after he took the pastry class at a pretty swank cooking school. While my cravings have diminished since we cut back on sugar and processed foods, I can still respond to that siren call as evidenced by some VERY fine chocolate covered pretzels the Easter bunny brought (Thanks, Mom).
The thing about sugar is that it tastes good. It tastes REALLY good. These are flavors that are supposed to taste good to us, and if you are accustomed to a lot of it on a regular basis, you may find it very difficult to suddenly cut back considerably. You might also simply find such a choice a little, well, draconian and no fun. I have found that keeping our house on a low sugar path depends to some degree on my ability and willingness to occasionally provide something that is sweet enough, that is yummy and feels a little like something you don’t get to eat all the time. Fruit, while we serve it often as snack or desert or whatever, does not always cut it in this department, particularly for my two young children who live in a world with other young children who get to have Ho-Ho’s at snack time. We are constantly on the lookout for the middle ground on sweet snacks. A treat sort of taste with much less sugar and none of the additives (food colorings, stabilizers, solvents that are present in those crinkly little packages of waxy chocolate covered pillow stuffing). After a great deal of experimentation based on the Lemon-Kissed Cashew Hemp Bars, my children and I met in the middle with these lovely bits…
Pre-Freezer, Pre-Cut, Still Delish!
AWESOME OATIE BARS
1/2 c cashews
1/2 c almonds
1 c dried dates
1/3 c pumpkin seeds
juice of 1 lemon
1/4 c peanut butter (or other nut butter)
1 c raw oatmeal (approximately to taste)
2 T chocolate chips (just enough to make it a treat)
Put nuts in food processor and run until fine. Add pumpkin seeds, dates, lemon juice and peanut butter. Process until dough forms a large sticky ball (if ball isn’t forming, add another splash of lemon or a tiny bit more nut butter).
Ball of Yummy
Remove ball and place in large bowl. Add oats a little at a time (I did 1/3 c scoops) and mix into dough. I found bare hands to be the easiest (albeit messiest) way to do this. I used a cup of oats, but you may prefer a little more for less stickiness or less for more fruitiness. Mix in chocolate chips. Place plastic wrap in the bottom of a small baking dish (mine was square) and pat down until evenly distributed. Place in freezer for at least 1/2 hour. Cut into squares or bars depending on the size of snack you prefer to have available. We cut our square baking pan full into 16 pieces. Not too big for the kids, small enough to be negligible for the adults. The name of the dish comes from my son. “What do you think we should call them, buddy?” “Awesome Bars.” I added the “oatie” to be marginally descriptive. Delish!
Pssst….. if you missed it earlier today, be sure to pop by our earlier post to read about our Sunshine Award. 🙂