When last we spoke, I mentioned that I had gotten in a bit of a food rut – cooking the same things over and over. Even if you like those dishes, few dishes can stand up to top 10 airplay for very long. I tried to goose up my creativity and inspiration by checking out a few cookbooks from the library.
Last week I introduced you to The Cleaner Plate Club: Raising Healthy Eaters One Meal at a Time, a great book for those making the transition away from processed food, and for anyone who’s trying to cook for and convince others (especially those of the junior sized variety) to do the same. Today, I want to re-introduce you to Ani Phyo, raw chef. This is admittedly my third time checking out Ms. Phyo’s book from the library; I have now reached the buy it for sure phase of our relationship. This visit with her book Ani’s Raw Food Asia: Easy East-West Fusion Recipes the Raw Food Way has sealed the deal.
We absolutely love Asian food profiles around here. Chinese, Japanese, Thai, Korean, it’s all good as far as we’re concerned. Since this category of food tends to be a winner for us, it’s a good place to experiment more, to find a little joy just outside the edges of the familiar by using raw vegetables rather than stir frying them for an Asian inspired meal. Ani Phyo’s book provided fabulous guidance, and is packed with absolutely luscious food photography, if that kind of thing works for you (which it does for me).
I quickly assembled some ingredients and put some brown jasmine rice into the rice cooker and got to chopping. Lovely thing about marinated raw veggies? Once you’re done chopping, you’re really quite nearly done. And so with about 10 minutes of effort and then a wait (during which I did all manner of other stuff) on my part, we had a lovely and extremely nutritious delish Asian feast that I would happily make over and over and over again.
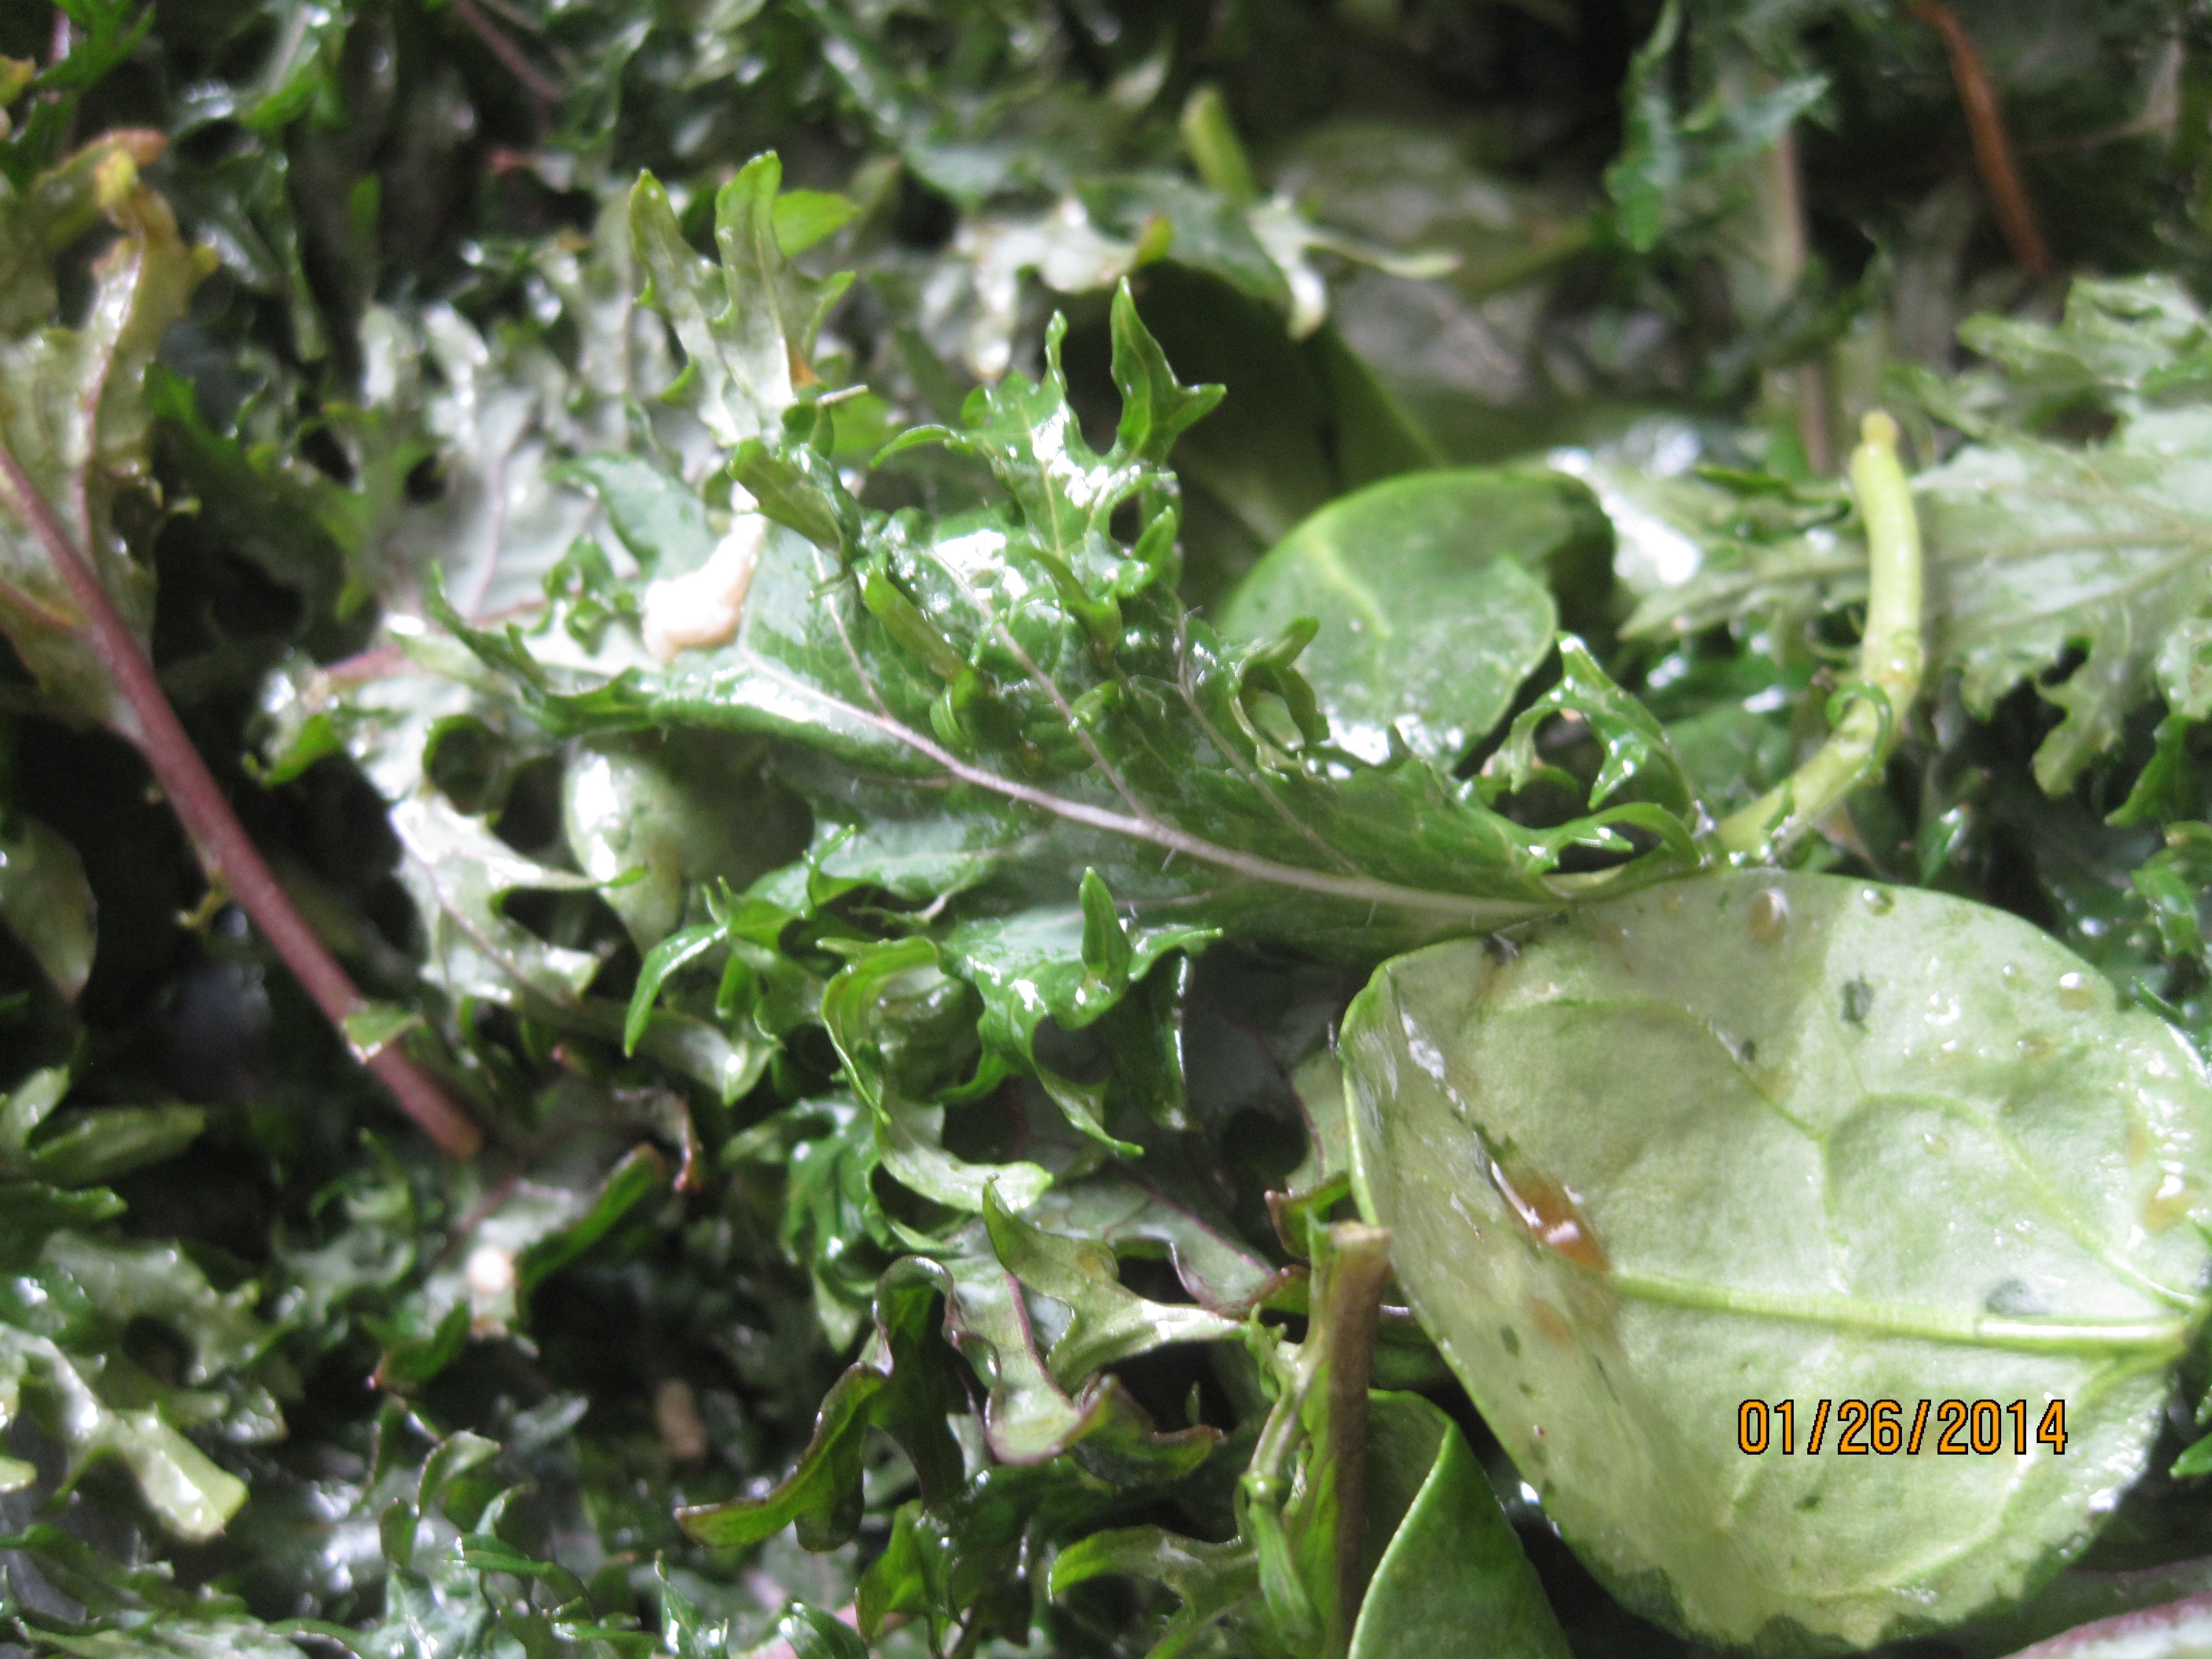
What did we have? We had a couple of namuls. A namul is essentially a marinated raw vegetable dish that, in Korea, is traditionally served along with rice. We chose a spinach namul, a mushroom namul, and I topped them off with some quick pickled carrots and green beans. Namuls usually contain copious raw veggies and sesame oil, some form of soy sauce, and some seasonings. The key with a namul is to let it sit long enough to let the veggies get tender. Specific measurements for a spinach namul are here.
I wouldn’t necessarily have expected to be so happy with a less than piping hot meal during these days of unrelenting cold, but truthfully there was something kind of hopeful about eating all those great slightly crisp and flavorful veggies. Spring will come again. For now, let’s have some great and tasty raw veg.
We have made the wonderful discovery that Mr. Bigg Sis (who has been gluten free and dairy free for over a year now) is able to tolerate Ezekiel bread. Hallelujah and let the toasting begin! While there are many attempts at gluten free bread out there (all expensive and all less nutritious in terms of fiber and protein that wheat based bread), it’s just not as good. He is delighted and although he is afraid to overdo it, we have been especially enjoying some toast with pumpkin butter that was a lovely gift from Carni-Mom. Fabulous stuff and the price tag of $5.50 on the jar told me that it would be a special treat for now and then.
But wait! I know, you’re thinking that’s not the spirit of “Anything you can do I can do cheaper” usually encountered on this blog… so I got to thinking….. And when the smoke cleared I decided that although even canned pumpkin is expensive and fresh pumpkins are not to be found, I think I can take a stab at this.
Open the pantry for inspiration and it seemed like some of the wonderful dried figs we received for Christmas from World Travelling Step-Son and Daughter-in-Law would be a tasty way to sweeten and change the flavor up just a bit.
Aren’t they beautiful? We received a generous amount otherwise I don’t think I would have spared these from their fate of being eaten straight up!
But how to thin the canned pumpkin without losing flavor? Apples!
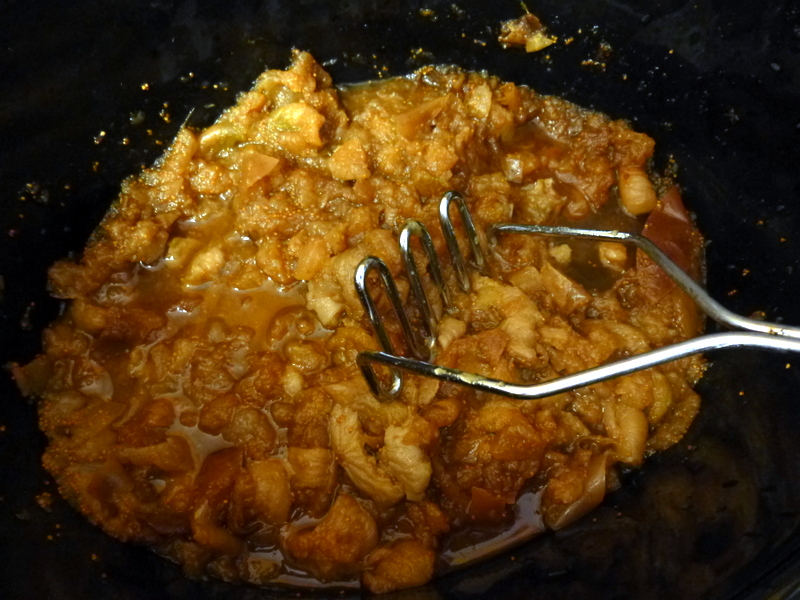
I am typing this as the figs I soaked overnight and the apples are heating up in the slow cooker…. Here’s what they looked like when I dumped them in.
Pumpkin Apple Fig Butter or any order you’d like to give those terms…
1 cup of dried figs soaked overnight in 1 cup of water. (I’m thinking this would also be good with prunes, or other dried fruit)
6 cups chopped apples – I leave peels on – it’s better for you and much less work.
1 and a half 15oz. can’s pumpkin (about 3 cups puree if you’re lucky enough to have the real thing)
3 tsp. cinnamon
1 tsp. allspice
1/4 – 1/2 tsp. ginger
1) Dump figs, soaking water and apples in the crockpot and cook on high for 4 hours. Stir about once an hour to prevent sticking and help the process along.
2) Mash it up a bit and if it’s not real soft, let it cook a bit longer
3) Puree. (I used a Vita Mix) Be careful – hot things can bubble , splatter and push the lid up and off!!
You know I love these cosmic Vita Mix pictures – a swirling apple fig galaxy here!
4) Put back in the crockpot and add pumpkin and spices
5) Stir well and cook with lid off to desired consistency, stirring now and again. Thickening time will of course vary by taste and by how wet your pumpkin is.
Mmmm mmm. Look out toast we are going to be slathering you with a lovely pumpkiny butter that cost at least half as much to make, even with organic pumpkin and apples!
Do you put anything unusual on toast? We’d love some new ideas…. once the pumpkin butter runs out. Although it will take awhile – I got to put quite a bit up in the freezer for later!!
Every now and again I find myself in a food rut. After all the holiday hullaballoo (which officially ended with twin birthday number 7 last week), it seemed that I had forgotten how to cook all but a few of our standard and semi-standard recipes. Once I cycled through those a couple of times, I confess even I was having trouble finding my enthusiasm for our usual healthier fare.
Thusly uninspired, I applied my tried and true tactic for waking some enthusiasm for healthier eating. I went to the library and found my way into the aisle with healthier cookbooks, looked for a couple that I knew of and found a couple of new titles to peruse.
One of the books I picked up this time was The Cleaner Plate Club: Raising Healthy Eaters One Meal at a Timeby Beth Bader and Ali Benjamin. I should say, before explaining how this led to dinner, that this is a lovely book for a home cook who’s trying to get out of the habit of relying on processed food and who needs some sage advice on how to make that shift, what kinds of foods to purchase, and what to do with those ingredients. It also includes a section that describes the way that children, in particular, eat and how to more comfortably address dietary change with kids. A great book, that also includes lots of yummy recipes, as well as a slew of non-recipe suggestions, one of which led me to create this fabulous dinner.
The authors suggested baking sweet potatoes and then topping them with black beans. I had cooked sweet potatoes on hand (for baking purposes)… and so, I admittedly made it more complicated, but with surprisingly fabulous results.
Sweet Potato Patties with Black Beans and Greens (DF, GF)
The Black Beans
olive oil for the pan
1/2 small onion, chopped fine
2 1/2 c cooked black beans or 2 cans, drained and rinsed
1/2 c water
1 t Bragg’s or soy sauce
1 t dried oregano
dash garlic powder
In a small pot, warm olive oil on low-medium heat. Add onions and cook for a few minutes, stirring periodically. When onions are translucent, add the other ingredients and simmer over low heat while you prepare the rest of the meal. Stir occasionally to prevent sticking. Add water if necessary to get the consistency you prefer.
The Patties
2.5 cups sweet potato (cooked until VERY soft)
1 c cooked grain (I used quinoa)
1.5 c chickpea flour
1 t salt
1 c rolled oats
1 t orange zest
1/2 t paprika
1/4 t garlic powder
olive oil for the pan
Mix all ingredients in a large bowl. Warm oil in the pan at slightly less than medium heat. Preheat the oven to 225. Use a mixing or soup spoon to spoon large dollops (sorry for the technical term) into the pan. Allow to cook for about 5 minutes per side, or until brown. Flip and brown the other side. Transfer to a baking dish and allow to rest in oven while cooking the rest of the patties.
The Greens
olive oil for the pan
about 8 ounces of your preferred dark green leafy
1 clove garlic, minced
toasted nuts (opt)
Warm the olive oil on low-medium. Add minced garlic and cook until fragrant (about 30 seconds). Add greens and cook until wilted, stirring to ensure all greens make contact with the hot part of the pan. Remove from heat when they are just starting to look ready. Add nuts (we used walnuts).
When it was all said and done, we served the beans over the patties, added a dollop of Annie’s cashew cream, a spoon of our favorite salsa, and added the greens to the plate. The dish tasted best when all the elements were on the fork together, regardless of what Ms. Picky Pants (who would dearly love to have a plate with sections) says. Delish.
Little Sis and I often preach about leftovers to the choir…., I mean for the choir…. I mean leftovers for breakfast or lunch or part of dinner. If you always make extra there will always be something (homemade and healthy) to eat, right? If you are having rice twice in one week, make enough for both meals, plus a little because you can always toss in some raisins, nuts and milk and eat it for breakfast, or throw on some fresh or frozen veggies or meat or pasta sauce, without having to cook rice again. This can be a real time saver when using brown rice….. if you’re not using it give it a try – it is so much better for you. However, and at any rate, lots of leftovers in the frig can drive us into a rut as to how we use all of the leftover bounty.
Here is a fast solution to the leftover veggies, grains and meat in your frig which you can use for a planned or unplanned meal.
I am a fan of Angela Liddon (Oh She Glows) and have often enjoyed her Protein Power Goddess Bowl recipe which basically combines a grain, lentils (or some other bean or meat or nothing) with veggies – could be raw, could be cooked, could be a combo, AND a tahini dressing to die for. Unfortunately the lemon tahini dressing takes a little while to make, so I don’t have it as often as I could. I noticed however that the dressing had a lot of hummus-y ingredients and since hummus is one of the things I try to keep on hand – because you can put a schmop in a salad, spread some on bread, dip in a raw veggie, cracker or chip, etc. With some of that LEFTOVER hummus in the refrigerator I created a tangier, thinner sauce than hummus with the same wonderful nutrition and more versatility for drenching piles of grains, beans and veggies – truly a Popeye worthy power bowl! Oh yes, and I am indeed a Goddess. Aren’t we all? 😉
5 Tbsp. nutritional yeast flakes (I used these)
Juice of 2 lemons (about 6 Tbsp)
1/2 tsp. garlic powder
1/2 tsp. salt
1/4 – 1/2 cup water
Mix together.
Pretty fast and simple, right? Now, your consistency will vary depending on the consistency of the hummus you start with, thus some choice in water amount. Add some water and see what you think. How lemon-y you come out will also have to do with what you start with. My hummus had a little lemon in it already, so if yours does not you may want to add a little more. Additional lemon juice will also thin the consistency.
Taste it and see what you think! This sauce is meant to be put on rather heavily, why not? It’s tasty and nutritious – and might be a refresher for some of the leftover grains and veggies in the frig. Add a can of rinsed and drained beans and you too are a goddess of the healthy and tasty. 😉
We have special friends with whom we often have ‘community stir-fry.’ Bring some cut up veggies to share and we cook some rice, stir-fry or roast the veggies, sometimes some chicken and throw it all together with some sauce. We used this sauce last night and it was a big hit over the roasted onion, steamed red peppers, broccoli, & kale, and warmed spinach with rice and a little chicken. Our friends are cool – and they have the coolest plates in town, don’t they? (Made by Tray Eppes)
Dee-licious!
What’s for dinner? If you don’t have much time and there are some leftovers in the frig and some hummus you are all set.
If you’ve never made hummus before, it’s not hard and so much cheaper than what you buy at the store. Little Sis is the queen of hummus and has offered up Navy Bean Herb Hummus, Baja Hummus and Garbanzorange Hummus, in the past. Try them or use up that tub you’ve got in the frig first.
I am a huge soup fan. I am a huge bean fan. I am also, predictably a bean soup lover. Despite all that, I confess my thinking about mung beans had been hugely limited. I purchased them in bulk, and used them to make sprouts and more or less left them in the pantry otherwise. Didn’t sub them out for other beans, didn’t consider putting them in pastry – I know, it sounds totally unlike me, right? Just goes to show that even those of us who are prone to chronic recipe tampering can get stuck in culinary ruts that limit our ability to experience the truly divine…
Enter a recipe for mung bean stew on Green Kitchen Stories that floated across my radar a few days ago… “Hey, don’t I have some mung beans in the pantry? I meant to sprout them… ” This, my friends is one of those lovely recipes that is incredibly simple and yields stunning, and winter perfect warming results. I’ve left the flavor profile intact, changed the measurements from metric, and made a few adjustments to the method. This stew is not to be missed, and Green Kitchen Stories is worth a gander – fab photos and great info. Happy bean stew!
2 c dried mung beans, soaked in clean water for at least 8 hours
olive oil for the pan
1 medium onion, chopped small
4 cloves garlic, chopped small
1 t cumin
6 c water
1 t salt
1 can full fat coconut milk
at least 3 c cooked rice (I used brown jasmine and the flavor really complimented the stew)
5 large handfuls fresh spinach (I imagine other greens would work here)
If you need to make rice fresh, start the rice first. Warm olive oil on medium-low in a pan and add the onions. Sprinkle with a small amount of salt and allow the onions to cook for several minutes (at least 5), stirring occasionally to prevent sticking. When onions are softened and translucent, add garlic and cumin and cook until fragrant (30 seconds to a minute). Add water, salt and the mung beans and bring to a boil. Cover and lower heat, simmering for about 30 minutes.
Taste to see if bean softness meets your liking. If the greens you’re using is of a less tender variety (like kale), add it now and cook for a few minutes to wilt in the soup, then add coconut milk, remove from heat, and stir. If you’re using a tender green (like baby spinach), add the coconut milk first, keeping soup on very low heat, add greens, stir and cook for just another minute to help wilt greens. Serve over warm rice. So warm, so comforting, so nutritious. Delish.
Even a garlic lover can deem a dish too strong with raw garlic. Sauteed garlic is much gentler and does not remind you that you ate it for as long as raw garlic. Yet, there is another rung on the ladder of kinder, gentler garlic, and it is a very tasty rung indeed – not that I make it a practice of licking ladder rungs, but flies (who taste with their feet) certainly can attest to the quality of the highest rung of garlic preparation.
Roasted garlic is soft and has a mild but rich flavor. It is so mild that you can literally smear a clove right on bread, cracker, romaine lettuce leaf… or nothing! Pop it in your mouth! You’ll be pleasantly surprised! The extra step up the ladder is definitely worth it.
Fortunately, even though it’s a higher rung, it is not a difficult climb. If you have an oven and 30 minutes you can whip up a batch of roasted garlic that can then be doled out into lots of recipes. During a recent hankering for hummus I opted to skip the raw garlic (making it more friendly as a work snack) and use roasted instead. As a nurse I think it only fair to skip the raw garlic in my lunch or snacks as the folks I work with are generally suffering enough as it is! 😉 The roasted garlic I prepared dressed up a lemony hummus and also came in handy with Brussels sprouts… I’ll get to that as well.
First off roasting garlic merely involves placing the head of garlic in the oven. You can buy a fancy roaster (here’s an example) but I have not found that to be necessary. I just place mine pointy end up in a glass pie plate or loaf pan and place it in a 400 degree oven for 30 – 35 minutes. This recipe at Simply Recipes suggests using a muffin tin. She also suggests placing olive oil on the head after you cut the top off and wrapping the head in aluminum foil. I did not do any of that. If you don’t even cut the top off, it keeps the cloves protected, but I might try it that way next time to see if it’s tastier.
After the head of garlic is cool, just peel out the cloves and use them in recipes like this!
Lemony Roasted Garlic Hummus
3 cups cooked and rinsed chickpeas (save the cooking water or canned water to used below)
6 cloves roasted garlic
1 tsp lemon zest
juice from 1.5 lemons
4 Tbsp. tahini
6 Tbsp. water
1 tsp, ground cumin
1 tsp salt (or to taste)
1 Tbsp. oil
Place all in food processor and beat the heck out of it. I usually mix a little before adding the water as I think it makes for less sloppage up the sides of the processor bowl, but of course you can always scrape down the sloppage. Depending on the softness of your chickpeas and your tahini, you may need to add a little extra water or oil. It’s your call! Get the hummus to a consistency that you like.
I used to use a lemon squeezer to get lemon juice without seeds but somehow the little buggers were always sneaking around the corners…. seeking out an opportunity to be planted I guess, but now I just use this method:
Works like a charm.
Once the tahini was smooth and creamy…
Love that tahini so cool and dreamy…
Sorry had a rhythmic interruption there.
Once it was done, I packed some into small cups to be taken to work or school or in the car for snacks. Packing small, extra or lunch size portions of something when I am putting it away saves lots of time packing lunches and saves lots of money in that I don’t buy something when I stop for my Big Gulp! (I’m just kidding, a Big Gulp! is a Big Health Problem AND a Big Urinate – ain’t nobody got time for that!)
Here’s my cute little hummus cup in action….
Later that day, as I pondered roasting brussels sprouts for dinner, I decided to use some more of the roasted garlic and dress those cute little cabbage wannabes up a bit.
Dijon Roasted Garlic Brussels Sprouts
Brussels Sprouts – enough to about cover the bottom of your baking pan) – or however many you have, probably shouldn’t bother unless you have 5 or more 😉
1/2 – 1 Tbsp. oil
salt to taste
1.5 – 2.5 tsp. dijon mustard
1 tsp. balsamic vinegar
4 cloves roasted garlic
1 tsp oil
I usually cut the tough stem end off and then cut the brussels in half – so they cook faster and more thoroughly in the middle.
Toss with the 1/2 – 1 Tbsp oil (I used avocado – your favorite or what you have on hand will work as well) and salt, spread out on a baking pan, and roast at 375. They usually take about 30 – 40 minutes.
While they are roasting mash the garlic, vinegar, tsp of oil and mustard together.
When the Brussels have just about reached their desired tenderness, take them out and mix in the sauce.
Roast for another 5 – 10 minutes.
If you think you don’t like Brussels Sprouts, I highly recommend you try them roasted. And if you think you don’t like garlic, I highly recommend you try it roasted. And I’m trying to think of some other clever or snide thing to tell you to roast but I’m too lost in the wonder of roasted garlic and brussel sprouts. My buddy Carol calls roasted brussels the “Over 40 Party Food.” Well…. I think young folks these days have more sense than that, so, come on you under 40-type young people, tell me how much you like roasted Brussel sprouts!
In the wake of our visits with friends and family and being besieged by ridiculously cold temperatures, I have found myself craving super warming comfort foods. I frequently turn to soups in these situations, and in fact during our coldest day of the polar votex, I let the slow cooker do the work for me and we had some lovely Vegetable, Bean and Barley Stew. With that said, I do have my limits, and this is true even for soup. I wanted something warm and comforting that was a little more… solid.
For inspiration I flipped through a few cookbooks, and landed on Kathy Hester‘s Chik’N Mushroom Casserole. I liked the sound of the creaminess with the mushrooms, but it was a little late in the day for me to start a slow cooker meal, and I didn’t want to use a meat substitute… So I read through her recipe a couple more times and re-imagined it a bit, borrowing from one of my other favorite cooks to mash those recipes together and make the dish I had in mind, Creamy Mushroom Stroganoff. Continue reading →
Oh it was grand to see my Little Sis, her family and so many other relatives over the holidays. I am very blessed in that all of my relatives like and prepare good food, so we very much enjoyed having others cook for us on our 11 day jaunt around the Mid-Atlantic!
We made it back to TN ahead of the Polar Vortex but with the temperature cold enough to make one think about warming foods like soup and chili. All of my chili recipes include meat or a meat substitute (of which I am NOT a fan*), AND it is January after all and time to de-tox from the sugar and other excesses of the holidays…. so I made us a warm and spicy vegetable chili which is chunky and satisfying. Continue reading →
It’s ridiculous outside. We’re having soup. In case you’d like to do the same, but aren’t sure what kind to make, check out our Soup De Doo, a roundup of our favorite Pantry soups. I’ve got Vegetable, Bean, and Barley Stew working in the Crock Pot and it smells fantastic. What are you doing to keep warm?
Well Hello There! It has been an exceedingly long time since we’ve posted, and mostly that was because we were visiting with friends and family every single minute. It was a truly wonderful holiday and, speaking for myself, I am oddly both rejuvenated and completely exhausted.
During an extended visit with the best friends a gal could have, someone asked how I moved away from cooking from recipes – how I started making recipes up and how I knew what substitutions would work. I know, those of you who’ve been playing along for a while are likely laughing as I’ve presented my move away from recipes as a basic inability to follow directions and recipes of any kind…. this being different from choosing to cook without that level of guidance. The truth is that I do both – I regularly screw up whilst following directions and, hopefully more often, I make conscious decisions to abandon the dictates of the recipe for one reason or another, usually either to make the recipe healthier or because I lack an ingredient and I do NOT shop for a missing ingredient or two (lack of control in grocery stores demands limited exposure).
Since my friend asked, I’ve been thinking a lot about how this evolution occurred, wondering how I got to the point of really only being inspired by a recipe rather than actually following it, and I think there are some basic steps that could prove useful to folks in trying to branch out and/or health it up in their own kitchens. There are myriad lovely cookbooks and blogs full of healthful recipes in the world. There are also ways to change most recipes so that they are 1) healthier, 2) more affordable, and 3) easier to prepare. Here I’ll offer three approaches that have made me less recipe bound and have therefore made me able to adapt all kinds of recipes to my own tastes, dietary needs, and available time: the ingredient swap, the recipe mash up, and flavor profiling. Continue reading →


 I quickly assembled some ingredients and put some brown jasmine rice into the rice cooker and got to chopping. Lovely thing about marinated raw veggies? Once you’re done chopping, you’re really quite nearly done. And so with about 10 minutes of effort and then a wait (during which I did all manner of other stuff) on my part, we had a lovely and extremely nutritious delish Asian feast that I would happily make over and over and over again.


 It’s ridiculous outside. We’re having soup. In case you’d like to do the same, but aren’t sure what kind to make, check out our