So I said this week that I was going to experiment with some new recipes since Mr. Little Sis was home. What I should have said was that I might even make him cook some of them. Wasn’t that nice of me? Hey sweetie, can you cook dinner while the kids and I are at violin? Great, here’s the recipe. We should have everything for it… Yeah, it was inspired. Good thing he’s a good sport.
So while I listened to Twinkle, Twinkle Little Star played in about 5 rhythmic variations on a violin and viola, Mr. Little Sis dug in and did his best in a kitchen that is organized to someone else’s liking. I have to confess that it strikes me as unclear who got the short end of that stick. With a few texts about “we don’t have…” answered by “just use this with a little of that,” Mr. Little Sis was off to the races.
The time estimate on this fantastic Quinoa and Black Bean Stew from Vegetarian Times is “under 30 minutes.” I think the estimate was pretty close given the aforementioned substitution advice via text and the “where does she keep the…” problem. The procedure was easy and the ingredients were not outlandish. We didn’t have fire roasted tomatoes so subbed out regular diced and added some smoked paprika. I admit that was genius, and it added just the right flavor. All of those fundamental flavors bubbling away with a smoky edge… coming home to this stuff already cooking was a heavenly moment for sure.
The stew is flavorful and interesting, even with a little less chili powder than called for (a concession to the children). The avocados added just the right amount of fat. And yes, you want the lime. It was so great little man requested leftovers in his lunch and ate every last piece of quinoa. As for Ms. Picky Pants? Well, you can’t win them all; she predictably did not care for the stew and that’s really all I can say about that. 75% approval around the table is an A- in this house, or at least a really strong B+. Given how much I personally enjoyed it and how I mourned the end of the leftovers, I have to say the non-super taster grade for this stew is an A.
It can be dangerous to try and make something wonderful even better…. I guess. Some might warn, “Why fix it if it ain’t broke?” Well, in this case, pushing the limits of good leaves us with 2 yummy alternatives…. and 1 caveat. (I’ll get to that later)
Little Sis and I offered you some easy Roasted Butternut Squash Soup a couple of years ago. I wanted to take it to a women’s group for which I offered to bring soup and decided that I wanted something with some protein as we were pairing it with bread and salad. I also thought that some roasted garlic would enhance the experience as well, so…. cashews and garlic are part of the adapted version. It got rave reviews.
Now for the caveat…. Apparently roasted onion, squash and cashews can be a potent digestive combo for some who are inclined towards affecting greenhouse gas levels in a rather socially unacceptable way. Will I eat this soup again? Indeed. I will do a little math, figure out where I have to be in about 20 hours after eating it and adjust accordingly. Will I ever let my husband eat it again? Indeed NOT! 🙂 Luckily he has many fine qualities, so if he eats some of the leftover soup I will forgive him. So let your digestion guide you, but I promise you won’t regret trying this soup!
The recipe is for 2 butternut squash and of course size will vary so add stock a cup at a time and see what you think of flavor / consistency.
1 cup raw cashews soaked in about 2 cups water for at least 6 hours
2 butternut squash – cut in half lengthwise and seeds scraped out.
2 med – large onions, peeled and cut in half
4 – 6 cloves of garlic (I used 4 enormous cloves) left in their papery shell
2 – 4 cups of vegetable stock
2 cored but unpeeled apples (I used Gala)
1/2 – 1 tsp sage
1 tsp salt (or to taste)
Roast the squash, onion and garlic at 400 degrees for 40 – 60 minutes or until tender.
Remove the garlic at about 20 minutes and peel when cool.
Once everything is tender, remove from oven and let cool so you can handle a bit to scoop the squash out of the skin.
I heated the apples in the microwave to soften them, but you could probably roast them for the last 10 minutes or so as well!
Drain the cashews.
Place batches of all the ingredients in a power blender or into a pot with a stick blender. Make sure you put some liquid in each batch of the blender to help it go.Pour back into a pot and stir. Warm if necessary and serve.
Your taste buds will love you for this one! – caveat and all. Caveat is a nice polite word for it, don’t you think?
Don’t know what it’s like in your neck of the woods, but we’ve settled into pretty sustained soup and stew weather around here, which is just fine by me. I could eat soup every day and be totally happy about that. Unfortunately not all the members of my little tribe feel as universally friendly to soup as I do, so I am pretty constantly trying new versions to try to draw the resisters in. This week I thought I’d rely on the appeal of tomato based recipes and try something new. And so we did.
I found a gumbo recipe in my More With Less cookbook, which tends to offer a wide variety of flavor profiles in fairly simple recipes that don’t tend to rely on too many exotic ingredients. Sounds like a good way to go, eh? The original recipe was for chicken gumbo, but I decided to use sautéed mushrooms instead. We often replace meat with lentils or a lentil bulgur mixture, but having had a fair amount of those recently, I thought we’d put the umami of the mushrooms to work for us. The result? An approval rating of 75%, which is an A- for the cook in our house. Yes, we grade on a sliding scale based on reality. This gumbo, while originally called “spicy” was not particularly so, so if that’s your thing you should crank it up a bit in the chili department. On to the gumbo…
Mushroom Gumbo
oil for the pot
1 large sweet onion
2 cloves garlic, minced
1 green pepper, diced
2 T flour (I used white whole wheat)
1 large can or box chopped tomatoes
1 1/2 c frozen okra
2/3 c tomato paste
3 c veggie broth or stock
1 1/2 t salt
1/4 t pepper
1 1/2 T soy sauce or Bragg’s
1/8 t ground cloves
1/2 t chili powder
pinch dried basil
1 bay leaf
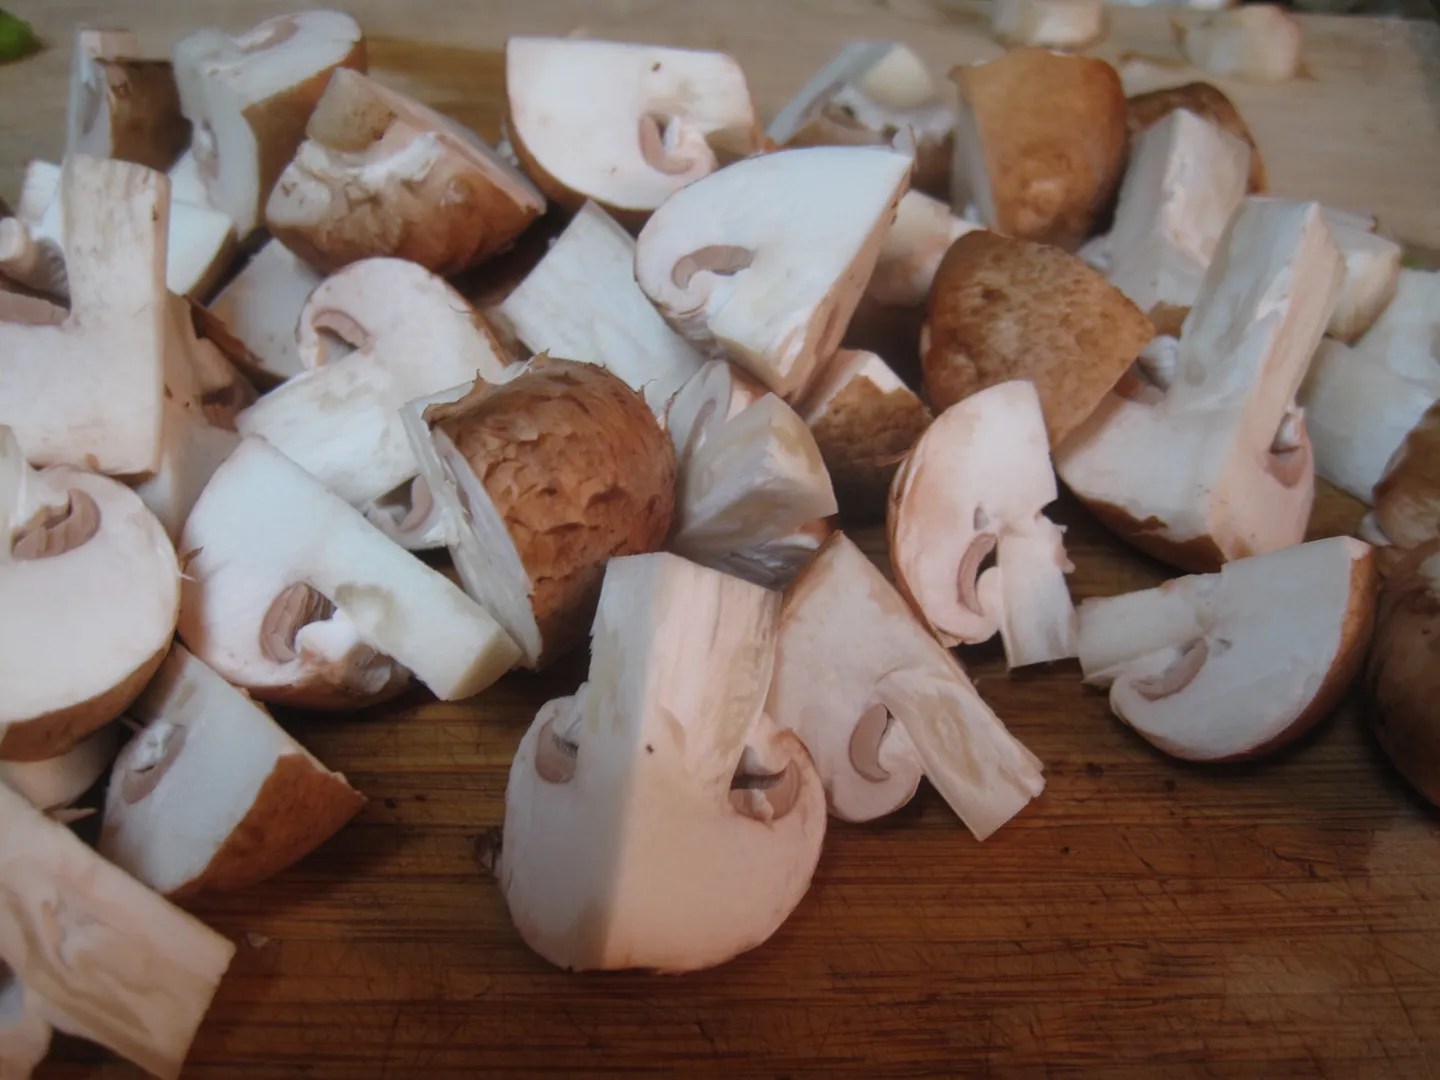
about 12 oz mushrooms, chopped into rough quarters (I used cremini)
1 T gumbo file (no idea why I had this in the pantry, the original recipe says it is optional)
chopped parsley for garnish
cooked rice for serving
Warm the oil in a large pot. Add onions and sauté until translucent, stirring occasionally. Add garlic and sauté for 30 seconds or so, until the garlic becomes fragrant. Add green pepper and sauté for an additional minute or so. Add 2 T flour and stir in, cook for another minute or so, stirring to prevent the flour mixture from burning. When peppers have begun to grown tender add the rest of the ingredients and bring to gentle boil. Drop heat to a simmer and cook for about 40 minutes.
While stew is simmering, sauté mushrooms in a pan of warm oil with a dash of salt. Let them sit to brown a little – which means don’t turn them too much. When the mushrooms are browned, add to gumbo pot to simmer together. When gumbo is warmed through and flavors have developed, serve over rice with a sprinkle of parsley. Delish!
I do love roast chicken. You get a nice dinner, another meal or two and a big pot of soup! That’s a good deal, especially since I buy organic free-range chickens. They are not cheap but they meet my considerations about eating animals / animal fat and the unclean way that most chickens are raised and processed. We have many nights without meat, but this is a great way to start a few meals, and/or have leftovers for sandwiches or to top salads. Here at the pantry we know that there are a variety of ways to eat healthfully but all of them include real food made from real ingredients with as much vegetables as possible. Little Sis’ family is pretty much vegan. Mine eats meat once or twice a week with roast chicken followed by soup being a staple approach.
Recently I have been mixing lemon zest, oregano, salt and pressed garlic and sliding it between the skin and the meat of one of our lovely organic free range birds. I add little red potatoes to the pot and my son is suddenly asking for seconds when he was previously NOT a fan of chicken. This approach is definitely worth the 5- 10 minutes it takes to make the rub and put it on the chicken. The house smells fabulous….. right now in fact!
The trick is to find the break between the skin and the meat at the opening of the chicken and then work your fingers into the break, first without and then with the rub.
Just take a little clump of mixture and slide it in. Then mash it a little from above to spread it out.
The mash I used this time was
zest of 3 lemons
1 -2 tsp salt
1 Tbsp Oregano
4 – 6 cloves of pressed garlic.
Mix and then spread under the skin, on top and if any left over place in body cavity. You can also save some to put on top of potatoes that you add to the pot to cook together. If you cook the potatoes with the chicken it is a good idea to use a syringe baster to spread some of the juices onto the potatoes.
I roast my chickens upside down as it keeps more juice in the breast. If you like a browned skin then flip the bird when you still have 15 or 20 minutes to go and leave the top off if using a roaster. Please follow guidelines for cooking chicken appropriately to avoid food poisoning and make sure you wash hands well after handling raw chicken. I like to cook chicken at a higher temp for a shorter time as I think that also makes it more juicy. I cook at 400 and check it with a meat thermometer after an hour for a small chicken (organic chickens then to be smaller).
We ate this chicken with beet greens sauteed in some of the cooked chicken juices and of course the potatoes. Very tasty … and some leftover meat for another dinner, plus soup in a couple of days! Bonanza 🙂
If you keep this carcass for soup then you get an added bonus of a little lemon-y, garlic-y flavor to your soup. This is really nice for a minestrone, or just plain old chicken noodle or chicken with rice.
This makes a lovely dish to serve guests as well – although you might need 2 so as to be sure and have some leftovers 😉
Enjoy savoring many meals with family and friends this holiday season. Little Sis and I have been hard at work on compiling our Baby Steps and a bunch of recipes into an e-book that we hope to release soon….. just in time to help you out with your New Years Resolutions 😉 We’ll keep you posted!
One of the most wonderful things about a powerful blender is the creamy soup that can be created and poured… or schmoved with a spatula into bowls – already hot! If your blender isn’t strong enough to heat, then you can always pour this into a pot and heat after you’ve creamed it. There is nothing like soup to fill the belly and warm the soul.
We experimented with a lot of soups when we first bought a Vita Mix (15 years old and still going strong). One of our favorites was Broccoli Cheese Soup. What’s not to like about Broccoli Cheese Soup? Well, once you determine that you can’t handle dairy, and there are those that argue that the fat in dairy is a bad choice, and those that would rather leave the cow’s milk to the cow’s…. well then, the cheese is not to like about broccoli cheese soup. So here is my dairy free version, loosely based on the recipe for broccoli cheese soup found in the Vita Mix recipe book.
Dairy Free Cheesy Broccoli Soup
1 tsp oil
3 cloves garlic, minced or pressed
1 onion, roughly chopped
4 cups steamed or blanched broccoli
1 cup raw cashews soaked in water for about 5 hours or more (I put the cashews in a 2 cup measuring cup and then fill to the 2 cup line with water
1 c unsweetened milk – I used almond
1 c water
1.5 Tbsp bouillon
You can also substitute broth for water – or broth for water and milk. Whatever works for you!
Steam or blanch your broccoli – keeping in mind that stemmy pieces need a little more cooking than plain florets.
I prefer to saute my onion and garlic before adding it to soup. Just saute until translucent while steaming your broccoli (which I did in the microwave)
Put all ingredients in the blender and whirrrrr it up, or more accurately, sideways until it is smooth and blended and if you don’t want to heat in a pot – let it spin till it’s hot!
I served mine with some broken up toasted Ezekiel bread. My husband said it was fabulous but I was too busy eating to notice 😉
This took 20 minutes from the beginning of chopping onion to pouring in the bowls. You gotta love that!
Enjoy the arrival of Fall – may your windows be open, your skies blue and your hearts full like a pumpkin.
I have cucumbers coming out of my ears – and no Big Brothers, I did not eat a seed. I can only assume that our relatively cool Maryland summer has delayed the usual onset of powdery mildew (which has now arrived and I’m combatting according to Big Sis’ suggestion) long enough for my cucumber plants to go bananas, so to speak. I’ve regularly been harvesting not just 1 or 2, but anywhere from 6 to 16 (yes, I said 16) delicious cukes from my 4 cucumber plants. What variety is doing so well in my not very well tended garden? I have no idea. Seed mixups are a real bummer. I digress.
In order to take advantage of my cuke bounty, we’ve been experimenting with some things, and I’ll share more of them over the next few weeks before it snows and puts an end to this whole summer bounty thing. Today, while it is relatively hot, I’ll share a lovely cooling use for all those wonderful cukes.
If you’ve been playing along for a while, you already know how I feel about Deborah Madison. In addition to my Deborah Madison cooking bible, I have a slimmer volume dedicated only to soups, because I really like soup. In this beautifully produced and photographed cookbook, there are a few cool soups perfect for beastly weather. Last night I was inspired by her Cool Cucumber Soup, although as usual I was compelled to make some changes. At any rate we had an 85% approval rating (meaning Picky Pants initially enjoyed it and changed her mind later). So, for all you cucumber lovers, or just those of you who like the sound of an easy cooling meal made from the most abundant veggie out there right now…
1 1/2 c cashew cream (here, from our lovely friend Annie) or yogurt or sour cream
3/4 c herbs (I used dill, basil, and parsley to great effect
salt and pepper to taste
zest and juice of 1 1/2 lemons
Relish
1 pound cucumbers
2 T chopped scallions
1 T dill
2 T chopped basil and parsley
2 t olive oil
zest and juice of 1/2 lemon
Peel and seed the cucumbers – dice 1/3 of them (or one pound) and set aside for the relish. While I often recommend skipping peeling and such, in this case I peeled to remove the bitterness sometimes in the skins. Coarsely chop remaining cukes and place in blender with the rest of the ingredients for the soup. Blitz until smooth. Place in fridge to chill. Yes, that’s it. No, I’m not joking.
Just before serving, combine ingredients for relish in bowl and stir. Done. No muss, no fuss, no cucumbers wasted. Delish. Happy super late summer!
The peas are ready! The peas are ready! Oh how I do love garden peas – the real deal, the kind you have to shell. I didn’t much care for them as a child (one for each year of life with a liberal swallow of milk so as not to choke), but have grown to like peas, but this is one area where frozen is really not the same as fresh. If you don’t care for peas, see if you can find the real McCoy at a farmer’s market and give them a go – raw, straight from the shell. Oh mercy. Spring is glorious.
I have found that my family enjoys garden peas most when they are left alone. Yesterday’s harvest may have yielded enough to cook and serve as a side, but I knew they wouldn’t like them as well, so I just rinsed those puppies and threw them in a bowl – shell and eat at will. But what else to serve? A ravenous 7 year old cannot live on garden peas alone, even if his mother would…
An old standby of mine that was ripe for an update: Avocado Bisque. I first encountered this recipe in the cookbook that came with my VitaMix, the cookbook that my sister previewed for me and annotated. Avocado Bisque earned a Bigg Sis rating of “Great,” and it is. I made a few adaptations to remove the moo and the chick and we enjoyed a lovely and light dinner of Avocado Bisque (with garden peas and dill), whole wheat bread (as evidenced by the crumb that snuck into my soup picture), and a fabulous green salad with garden lettuce. Continue reading →
Okay, so we are definitely thinking about re-naming the pantry The Sweet Potato and Soup Sisters because we’ve shared so many soup and sweet potato recipes, but what could possibly be wrong with that? Seriously, as we were driving home from TaeKwonDo testing on this cold morning…. after sitting on a cold gym floor waiting our turn to do forms and spar and break boards, I kept thinking how nice it would be to have some soup. I would have sat in some if it wouldn’t have stained my uniform!!
At any rate, watching my young man be attacked by 2 high level teenage female black belts, I couldn’t be sure what he was thinking but I’m certain it was not about soup. I am also certain he was not thinking about vegetables. No, really! I’m quite sure! However, I know that I can think about slipping lots of vegetables into that growing body by incorporating them into soup. And he and his growing body love this soup, as does Mr. Bigg Sis (who prefers that his body not grow anymore). Vegetables in soup fill the bill for both growing and ‘trying to stay relatively the same size’ bodies. So slurp on!!
This easy to make soup is an adaptation of a soup in the Vita Mix recipe book. The original uses tofu, but tofu is on the list of inflammatory foods that hubby is supposed to avoid. I decided to use cashews for protein, made a few other changes and I think you will enjoy the results. We certainly did! And if anyone breaks into our house to steal the soup, my son and I are ready to fight them for it!
Carrot Ginger Soup
Chopping can be chunky as eventually it will all be ground up
3/4 cup cashew pieces soaked overnight in 1 cup water
5 cup chopped carrots (does not need to be chopped fine)
1 cup chopped onion
6 small garlic cloves – or a couple of big honkers (chopped)
1 tsp olive or other oil you prefer
1 tsp salt
2 Tbsp grated fresh ginger (keeping ginger root in the freezer makes it easy to grate)
1 – 2 cups vegetable or chicken stock
After chopping veggies, saute them in the oil until slightly tender and onions translucent.
Add to high powered blender along with 1 cup stock, ginger and salt.
Puree.
Transfer to soup pot on stove to keep warm.
Okay – so it’s not looking too creamy yet….. hold onto your cold tushie over there!
Place cashews and water in blender (no need to wash blender) and puree on high until smooth and creamy.
Add to soup pot and stir.
Add more stock if desired to achieve desired consistency.
Serve with bread or potatoes or crackers or cold TaeKwonDo people…. or rather to cold TaeKwonDo people.
This is yummy but I do hope that soon the weather will turn our thoughts from soup to …. aw heck, I eat soup all year! Perhaps in the next few months we will be able to share some lukewarm or chilled soups. But for now – I give you a hearty, healthy hot soup.
I am a huge soup fan. I am a huge bean fan. I am also, predictably a bean soup lover. Despite all that, I confess my thinking about mung beans had been hugely limited. I purchased them in bulk, and used them to make sprouts and more or less left them in the pantry otherwise. Didn’t sub them out for other beans, didn’t consider putting them in pastry – I know, it sounds totally unlike me, right? Just goes to show that even those of us who are prone to chronic recipe tampering can get stuck in culinary ruts that limit our ability to experience the truly divine…
Enter a recipe for mung bean stew on Green Kitchen Stories that floated across my radar a few days ago… “Hey, don’t I have some mung beans in the pantry? I meant to sprout them… ” This, my friends is one of those lovely recipes that is incredibly simple and yields stunning, and winter perfect warming results. I’ve left the flavor profile intact, changed the measurements from metric, and made a few adjustments to the method. This stew is not to be missed, and Green Kitchen Stories is worth a gander – fab photos and great info. Happy bean stew!
2 c dried mung beans, soaked in clean water for at least 8 hours
olive oil for the pan
1 medium onion, chopped small
4 cloves garlic, chopped small
1 t cumin
6 c water
1 t salt
1 can full fat coconut milk
at least 3 c cooked rice (I used brown jasmine and the flavor really complimented the stew)
5 large handfuls fresh spinach (I imagine other greens would work here)
If you need to make rice fresh, start the rice first. Warm olive oil on medium-low in a pan and add the onions. Sprinkle with a small amount of salt and allow the onions to cook for several minutes (at least 5), stirring occasionally to prevent sticking. When onions are softened and translucent, add garlic and cumin and cook until fragrant (30 seconds to a minute). Add water, salt and the mung beans and bring to a boil. Cover and lower heat, simmering for about 30 minutes.
Taste to see if bean softness meets your liking. If the greens you’re using is of a less tender variety (like kale), add it now and cook for a few minutes to wilt in the soup, then add coconut milk, remove from heat, and stir. If you’re using a tender green (like baby spinach), add the coconut milk first, keeping soup on very low heat, add greens, stir and cook for just another minute to help wilt greens. Serve over warm rice. So warm, so comforting, so nutritious. Delish.
So you know that some pretty nasty stuff goes on at so-called factory farms. (If you don’t know, please watchFood, Inc. because even though you don’t want to know….. you really DO want to know. And if you’d like a short piece of the film about chicken farms, you can watch one here.) We have not eaten beef or pork for a very long time, and further decided to only eat ‘clean’ chicken and turkey. Well, as I’m sure you all know, ‘clean’ poultry costs a lot more. We have 2 solutions for this. We eat less meat: less often, and less of it on the plate when we do it eat it, and I buy whole chicken and make soup after an initial meal or two from the roasted chicken. It’s really not that hard and there is nothing like homemade soup, so if you’ve never done it, here we go….. from raw to roasted to really delicious soup! Continue reading →


 The stew is flavorful and interesting, even with a little less chili powder than called for (a concession to the children). The avocados added just the right amount of fat. And yes, you want the lime. It was so great little man requested leftovers in his lunch and ate every last piece of quinoa. As for Ms. Picky Pants? Well, you can’t win them all; she predictably did not care for the stew and that’s really all I can say about that. 75% approval around the table is an A- in this house, or at least a really strong B+. Given how much I personally enjoyed it and how I mourned the end of the leftovers, I have to say the non-super taster grade for this stew is an A.


 I have cucumbers coming out of my ears – and no Big Brothers, I did not eat a seed. I can only assume that our relatively cool Maryland summer has delayed the usual onset of powdery mildew (which has now arrived and I’m combatting according to Big Sis’


 The peas are ready! The peas are ready! Oh how I do love garden peas – the real deal, the kind you have to shell. I didn’t much care for them as a child (one for each year of life with a liberal swallow of milk so as not to choke), but have grown to like peas, but this is one area where frozen is really not the same as fresh. If you don’t care for peas, see if you can find the real McCoy at a farmer’s market and give them a go – raw, straight from the shell. Oh mercy. Spring is glorious.


